What's new in The Falklands War: 1982
How to Create and Use Campaign Start Pages
New to Raging Tiger, scenario designers can build HTML 'Campaign Start Pages'. These are HTML format web pages that allow players to "browse" to select scenarios rather than selecting them from the standard, mission start list. The sky really is the limit for this capability. You can use it to build whole story boards to package your scenarios.
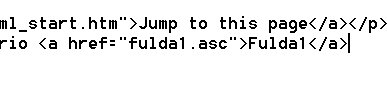
All you need is the capability to edit HTML files. To 'link' to your scenarios, simply create links to the Raging Tiger scenario files (.asc). When the player clicks on one of these links inside your Campaign Start Window, Raging Tiger will initiate the appropriate scenario.
Create a Campaign Start Page:
Here we talk about creating a one-page start page, but you can actually make a whole series of pages, linked together by hyperlinks, your Campaign Start Pages. You might use this capability to build a "road to war" or create separate "Map Pages" with different maps representing different regions.
|
1. Create an HTML format file. In this file, create links to your scenario files. When the page is complete, save it in the 'Data' sub-directory of the Raging Tiger install directory. |
|
Make the New Page the Campaign Start Page:
This is only one of the customizations you can make with the Configuration File. For more information, see 'Change Settings in the Configuration File'.
|
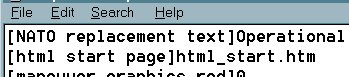
1. Now you need to tell Raging Tiger where your Start Pages are. Add a line with the '[html start page]' configuration tag and the name of the first page in your Campaign Start Pages. |
|