What's new in The Falklands War: 1982
What's new in The Star and the Crescent
How to Create a New Scenario
A scenario is a collection of files which go together to define every aspect of the play experience for a single game of Armored Task Force. Some files, such as maps and databases (created using the ATF Power Toolkit), are used across multiple scenarios. Some files, such as unit lists and graphics, are specific to a single scenario. These are the files that are edited using the ATF Scenario Builder.
It will surprise you to find out, however, that there is a minimum of file management involved in building a scenario. All of the scenario components are edited from within the scenario editor and managed transparently to you as you work. All of the scenario file names are generated automatically based on the file title you input during the create process. So, as long as you have all of the files in the 'Data' sub-directory of the Armored Task Force install directory (which the Scenario Builder will do automatically), they will run fine in the game.
Should you wish to share your handiwork with other ATF players, just zip all of the files that begin with your file title into a single zip file and they are ready to share with the world. For players to use them, they just need to unzip the package into the 'Data' sub-directory of their own Armored Task Force install directory
The first step in creating a new scenarios is, well, creating a new scenario. Luckily, the ATF Scenario Builder includes an easy-to-use wizard which walks you through the entire process.
Use the Scenario Wizard to Create a New Scenario:
We are going to use the ATF Scenario Builder to create a new scenario. Whenever we want to stop building our scenario for a while, we just use the 'Save' function. Then, in order to start editing again, we just re-open the ATF Scenario Builder, and select 'Open an Existing Scenario' from the opening dialog.
| 1. Start the ATF Scenario Builder. |
 |
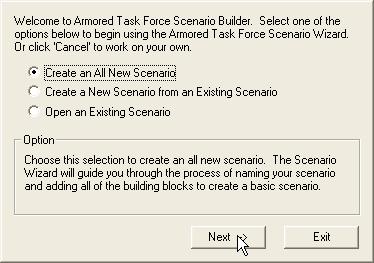
| 2. Select 'Create an All New Scenario' from the opening window. |
 |
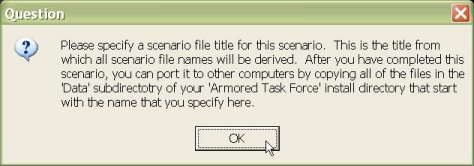
| 3. You will be prompted to enter a file title for the scenario. The scenario editor will not allow you to use file titles that were used for scenarios that shipped with Armored Task Force. |
 |
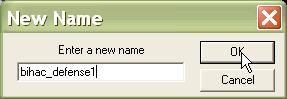
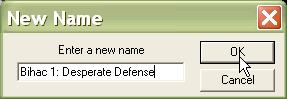
| 4. Enter a name. If you use a title from an ATF scenario that shipped with the game, you will be prompted to enter another one. |
 |
| 5. Next you will be prompted to enter a scenario display name. Again, the scenario editor will not allow you to use display names that were used for scenarios that shipped with Armored Task Force. |
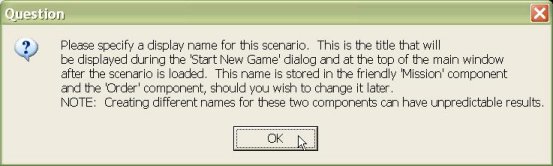 |
| 6. Enter the display name for your scenario. |
 |
| 7. Now you need to select the map to use for the scenario. For a map to be usable by Armored Task Force, all of its files must be in the 'Data' sub-directory of the Armored Task Force install directory. |
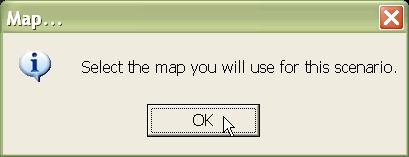 |
| 8. Select the map. |
 |
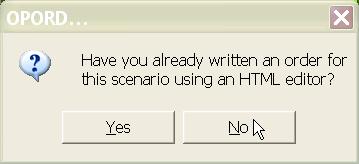
| 9. The OPORD for a scenario is written in either HTML or Plain Text format in an editor outside of the ATF Scenario Builder. We are going to wait to add the order. See Add an OPORD to a Scenario. |
 |
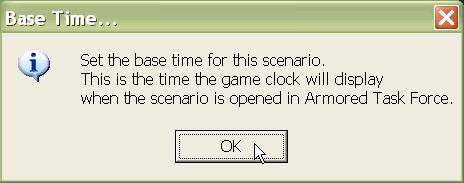
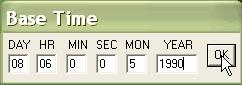
| 10. Next, you must enter the 'base time' for the scenario. This is the time that appears in the clock window as 'game time' at the beginning of the game. |
 |
| 11. Enter a time. You can change it later by selecting the 'Base Time' function from the 'Time' menu. |
 |
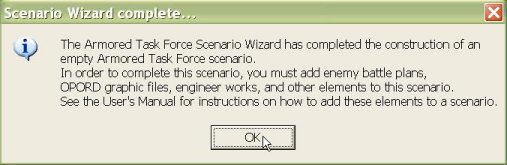
| 12. You are done creating a new scenario! In the rest of the tutorial we will just continue to add additional objects and instructions to the scenario we have just created. |
 |